



Views: 0 Author: Site Editor Publish Time: 2026-11-11 Origin: Site


A fragmented Point of Sale (POS) system creates significant checkout bottlenecks. These interruptions slow down transactions, increase the likelihood of input errors, and damage the overall customer experience. Retailers often struggle when components fail to communicate, turning a simple checkout process into a technical troubleshooting exercise. You need a transparent, vendor-agnostic framework for connecting core hardware to your software ecosystem. This approach ensures your systems remain stable during peak hours. By understanding the underlying communication protocols and hardware requirements, you can prevent mid-shift failures. You also ensure compliance with critical security standards. Mastering this process reduces your dependence on external IT support for basic issues. This guide will teach you how to streamline your POS peripheral setup, ensuring all your devices function as a single, cohesive unit.
The Printer is the Hub: Most traditional cash drawers do not connect directly to the POS terminal; they receive a specialized electronic pulse via the receipt printer using an RJ11/RJ12 cable.
Protocol Dictates Reliability: While Bluetooth offers aesthetic benefits, hardwired (USB/Ethernet) connections remain the industry standard for high-volume environments due to minimal latency and zero signal interference.
Scanner Calibration is Mandatory: Plug-and-play scanners often require programming (via configuration barcodes) to append a "Carriage Return" (Enter) command after each scan.
Ecosystem Compatibility Trumps Specs: Hardware must be explicitly listed on your POS software provider’s supported devices list; generic drivers frequently fail during software updates.
Before initiating any POS peripheral setup, verify your hardware compatibility. Check your vendor’s hardware compatibility list, often abbreviated as the HCL. Unsupported hardware might function initially, but it often loses compatibility during forced software updates. This unexpected loss of connection can halt your operations at the worst possible moment.
You must also identify your terminal’s operating system. iOS systems rely heavily on Bluetooth or specific MFi-certified network printers. Conversely, Windows setups lean toward direct USB or Serial connections. These differences dictate which hardware you should purchase.
Define your success criteria early in the project. A successful configuration results in sub-second barcode recognition. Your receipt printing should be instantaneous. Most importantly, the cash drawer must fire open simultaneously with the finalized cash tender. Anything less than this creates a lag in the checkout lane. If you achieve this speed, you maximize throughput.
Selecting the right connection protocol determines the long-term stability of your hardware. Each method offers distinct advantages and challenges. You must choose based on your specific retail environment and traffic volume.
USB and Serial connections represent the classic hardwired approach. They provide zero signal interference. They offer consistent power delivery to peripherals. These connections also boast the lowest latency available. However, they require careful cable management. You also face limited mobility, as the hardware remains tethered to the terminal. This setup works best for stationary, high-volume checkout counters.
Ethernet or LAN connections provide a robust alternative. They are extremely stable. This setup allows multiple terminals to share a single receipt printer. You must manage a localized network switch and perform basic IP configuration. It requires more technical skill than a simple plug-and-play USB connection.
Bluetooth and Wi-Fi connections offer clean aesthetics. They remain ideal for mobile or tablet-based setups. However, they are susceptible to signal drops during peak hours. You also face the burden of constant device charging or battery management.
Below is a summary comparison of these connection methods:
Protocol | Best Use Case | Key Advantage | Primary Limitation |
|---|---|---|---|
USB/Serial | Fixed Counter | No signal interference | Restricted mobility |
Ethernet | Multi-terminal Hub | High network stability | Requires IP configuration |
Bluetooth | Mobile / mPOS | Clean, cable-free look | Power management needed |
Follow a structured process to ensure your hardware communicates effectively. A disorganized installation leads to intermittent connectivity issues later.
The printer serves as the foundation for your peripheral network. First, connect the unit to power. Then, establish the data connection. Use USB for a direct terminal connection or Ethernet for network routing.
Next, install the required OEM drivers if you use Windows or Mac. For iOS or Android, pair the device within the POS application's hardware settings menu. Always perform a manual hardware self-test. You usually initiate this by holding the feed button while powering on the unit. This step confirms the device’s IP address and current firmware status.
Avoid trying to plug your cash drawer directly into your computer. Instead, locate the Drawer Kick port on the back of your receipt printer. This port is often labeled "DK". Connect the drawer to this port using an RJ11 or RJ12 cable.
Once connected, configure the software. Navigate to your printer settings menu. Toggle the "Enable Cash Drawer" or "Open on Cash Sale" command. This action enables the printer to send the electrical pulse required to release the drawer latch.
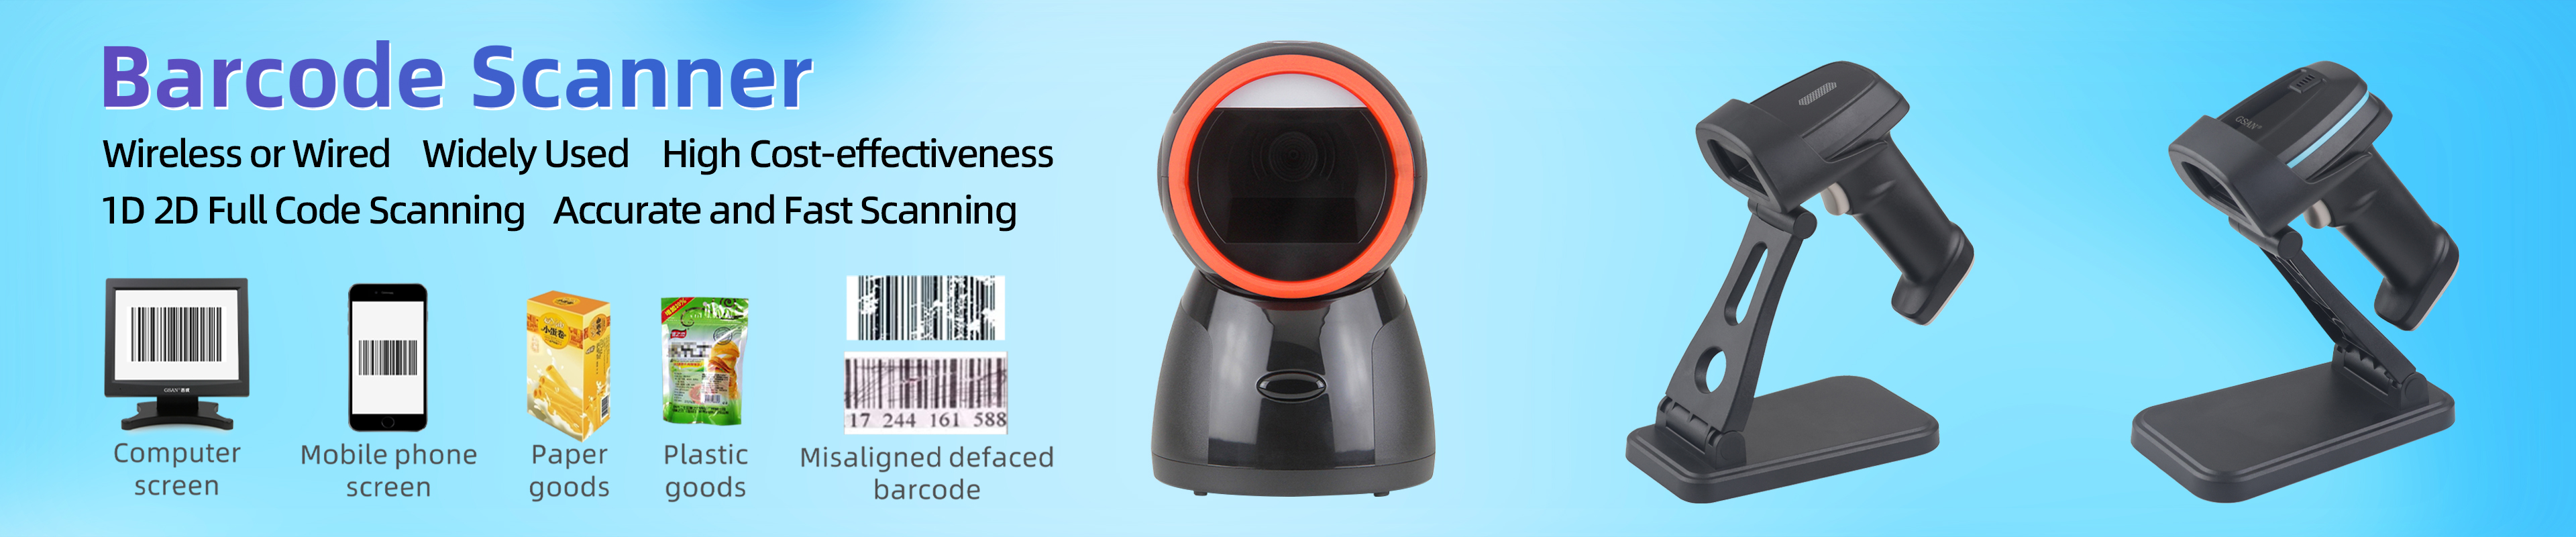
Connect your scanner using a USB dongle or Bluetooth pairing. Most scanners require an initial factory reset. Find the reset barcode in the manufacturer’s quick start guide and scan it.
Next, scan the specific configuration barcodes. You must enable the symbologies you plan to use, such as 1D codes or QR codes. Finally, add the mandatory "Carriage Return" suffix. This command ensures the scanner hits "Enter" after each scan. Without this, your items will not add to the cart automatically, forcing manual clicks for every single entry.
Even a perfect installation can experience friction. Awareness of common failure points allows you to resolve issues before they halt customer service.
If the drawer fails to kick, investigate the cabling. A damaged RJ11 cable is a frequent culprit. Ensure the cable is in the DK port and not a standard telephone jack. Many systems also disable the drawer kick if the printer is out of paper. The system views an "out of paper" error as a reason to suspend hardware interaction.
Scanner issues often involve data communication rather than hardware failure. If the scanner reads data but fails to add the item to the cart, check for a missing carriage return suffix. The scanner is reading the barcode but failing to trigger the "Enter" command. Program this setting to ensure seamless integration.
Network printers often drop offline due to dynamic IP assignment. If your router reassigns the printer’s address during a reboot, your terminal will lose contact. Always assign a static IP address to your Ethernet or Wi-Fi printers. This ensures the terminal always knows exactly where to find the printer on the network.
Windows environments may suffer from driver conflicts. Generic Windows "text-only" drivers often override proprietary manufacturer drivers. This leads to scrambled text or poor formatting on receipts. Always verify that your terminal is using the specific driver provided by the hardware manufacturer.
You must decide between maintaining a mixed environment or adopting a unified ecosystem. Each strategy impacts your operational flexibility.
Retain piecemeal hardware if your current devices meet all transaction speed requirements. If only a single component fails, such as the scanner, replacing just that unit saves you significant effort. You avoid the need to reconfigure your entire setup. This approach works well when you have a stable, functioning lane and only need to replace aging parts.
Consider adopting a unified ecosystem if you experience frequent connection drops. This strategy serves you well if you operate across multiple locations or lack dedicated IT staff. Bundled ecosystems, such as a unified terminal stand with integrated printer support, guarantee firmware harmony. The vendor ensures all components work together by default. This integration eliminates the "finger-pointing" that often happens when individual components from different manufacturers fail to talk to each other.
Your next steps should involve a thorough audit. Review your current POS software’s hardware compatibility list. Assess your counter space for physical cabling tolerances. Before rolling out changes store-wide, test a single peripheral bundle in a pilot lane. This ensures your configuration works under real-world conditions before you commit.
Reliable hardware integration requires a deep understanding of the device hierarchy. Remember the flow: terminal to printer, then printer to drawer. Adhering to strict software compatibility guidelines is the only way to avoid frustration. Taking the time to properly configure IP addresses and scanner suffixes upfront prevents catastrophic downtime during peak retail hours.
Always review your POS provider's supported hardware documentation before purchasing any new equipment. A little research prevents the purchase of incompatible hardware. Focus on stability, standardized connection protocols, and verified compatibility. These practices keep your checkout lanes fast and your operations reliable.
A: Generally, no. Most cash drawers lack USB ports and rely on the 24V pulse generated by a receipt printer to release the mechanical latch. USB cash drawers exist, but they require specialized software triggers to function properly.
A: This is typically a keyboard language mismatch. Ensure your POS terminal's operating system language matches the language programmed into the scanner. For example, if your terminal is set to US English, your scanner must also be programmed for the US English layout.
A: While multiple terminals can route print jobs to a single networked receipt printer, the cash drawer will open for any terminal that finalizes a cash sale through that printer. This introduces severe cash accountability and auditing risks. It is best practice to keep one cash drawer per terminal.
A: Yes. iOS relies entirely on in-app integrations and Apple-certified (MFi) Bluetooth or network devices. Windows relies on OS-level drivers, which offers broader hardware compatibility but requires more technical configuration and driver management.


